
Magic...nope. This is done with a relatively new product called Metal Clay.
Metal clay is made up of metal particles combined with an organic binder. The moist clay is shaped as desired, left to dry and then fired at temperatures between 1100 and 1650 degrees Fahrenheit. After the binder is burned away, you are left with an almost pure metal.
PMC and Art Clay are the two most commonly known brands of metal clay. (Note: I have read there are other brands, but I have as yet to see any other brand names mentioned.) Metal clay comes in silver, gold, bronze and more recently copper. Silver is the most common of the metal clays. However, the low cost of copper clay may increase it's popularity.
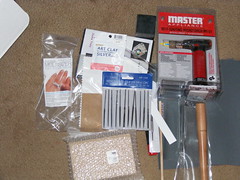
After about a year of thinking about diving into the costly world of Precious Metal Clay, a post over on Polymer Central's Forums opened a path for me to take take the plunge. JoAnn's has started carrying Metal Clay and supplies and they are having a sale. I was able to get this kit for under a little over $100 dollars. This starter kit contains everything....including the clay to get you started into the art of Precious Metal Clay.
So armed with books, the internet and my imagination, I dived head first into the world of metal clay.
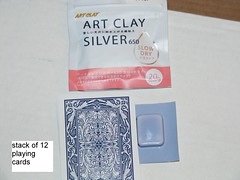
Metal clay is measured in grams. And I was prepared for small amounts of the clay in the packages. (I am a polymer clay artist used to dealing in ounces, but I did try to prepare myself for the amount I would be getting). I did not prepare myself enough. I knew the amount would be small, but I was still shocked at how small.This is a stack of 12 brand new playing cards. The prices of 20g of Art Clay Silver Low Fire 650 Slow Dry is usually around $35-$40 dollars. (This is not a cheap hobby to take up if you are not intending to sell products made from metal clay)
However, you can get a number of pieces from 20 grams of clay. Because the final piece will be pure metal, you really only need thin sheets to make your projects. My kit came with two very thin 1mm slats to use as a guide to roll your clay to thin sheets.
Let the fun begin!
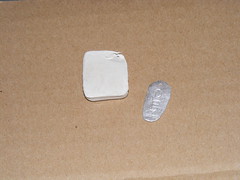
I did test fire a small pieces to get acclimated to working with the clay in it's wet and dry states and properly firing with the torch.
Now I was ready to move on to an actual project.
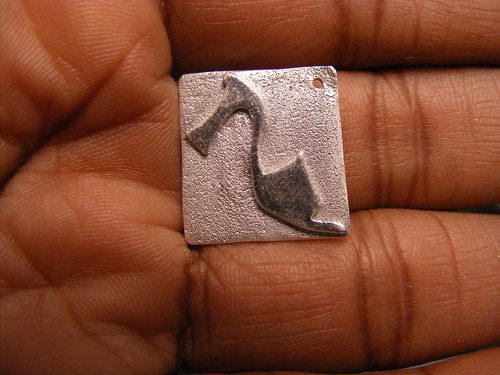
So, I have one true passion outside of arts and crafts...shoes! Of course my first piece would be shoe related.
After shaping my pieces, thanks to a handy shoe shaped paper cutter, I left it to dry to a bone dry state (very important!) And then sanded it with the mini files from my kit (you can also use an emery board if you don't have these cute little files)
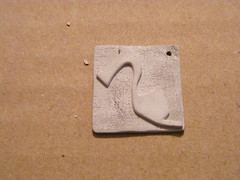
(Note: this piece is made from PMC+, I was able to find 1 package at a local bead shop)
I recored the firing and and burnishing process.
Part 1:
Part 2:
The result, a lovely fine silver pendant that I am very proud of. Not bad for my first Metal Clay project.
I can't wait to start combining metal clay along with polymer clay.
No comments:
Post a Comment